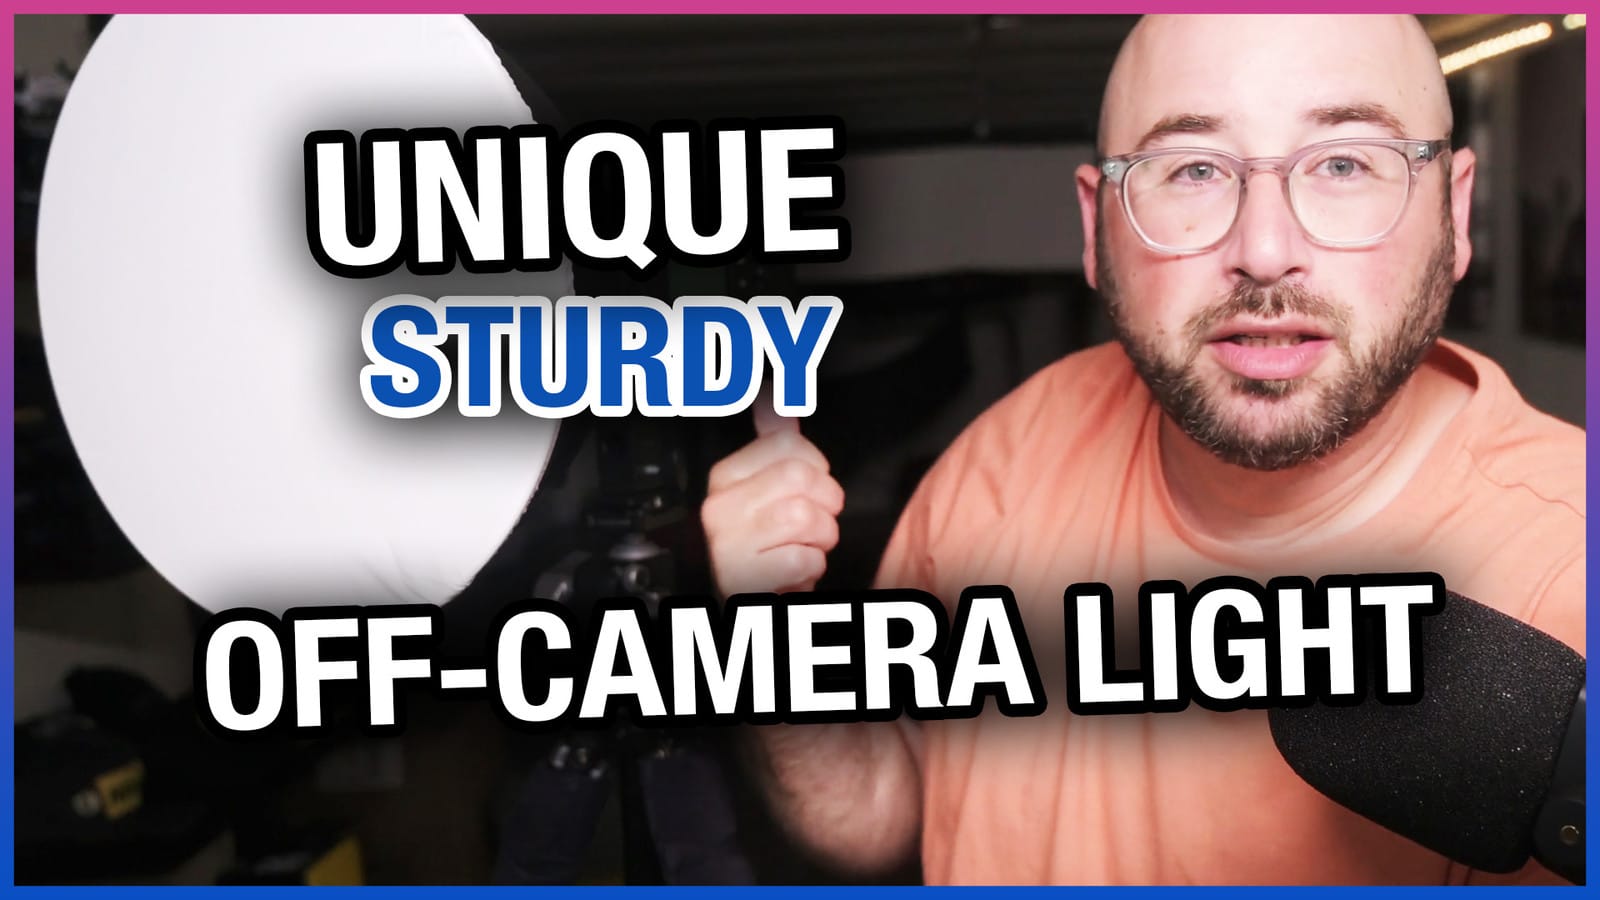
In this video, I share my unique setup for wireless off-camera light for my photography work. More specifically, when I do not have an assistant with me and need to move around fast and not worry about strong wind gusts.
Transcription was done by Descript‘s automated transcription services which means it’s an AI-generated transcript. The transcript may contain spelling, grammar
Have you ever wanted to have your lights go wherever you need them to go without it risking, falling in the dirt, on the ground, in the sand and not having to do natural light because of the many reasons why you may not want to do naturally. Okay, this is the video for you. Hey, this has got one giveaway.
It’s a storyteller with the camera, talking about all the things photographers like you and I are thinking about. And in this video, we’re going to be talking about light and how to make using artificial light, more convincing. For you. I offer a surprise proposal, photography to clients here in New Jersey.
And well, the problem is, is that when you’re doing a surprise proposal session, you were always doing it with natural light. The lesson. The last thing you’re going to do is use a flash or a strobe or whatever it is to illuminate your subjects when it’s supposed to be a surprise. And when it comes to this, I don’t always want to bring lights with me when I’m not going to use it for the main job at hand.
But I offer a mini engagement sessions right after the proposal. It’s about 15, 20 minutes long. And quite often you run into an issue where you have to use a reflector because there’s not enough light or there’s weird shadows. You need to add more light in, and then it’s just a process. And if you don’t have an assistant with you, it just makes it even more complicated.
What I wound up doing is I came up with a solution that works for me to make one light. It’s a wireless off-camera light that. Works perfect for my situation and I can move it and it’s not going to hit the ground here. That’s what I did right here. You can see, I have a tripod. This is a three section leg tripod from really right stuff.
Right now I have two sections open when I go three sections. It goes over my head. Plus I have the center column, which you can see as well, that has a hook on the bottom that I [00:02:00] can raise up if I needed to go even higher, which immediately makes us fantastic to use as a light stand. But you might be asking it to try.
It’s not a nightstand. So how do you get a little. On the tripod. What you could do is you could take the tripod plate, you can get yourself an extra tray, tripod plate and screw in a spigot for light to attach to this is great. And I was going to do that until I realized Westcott actually makes a product that solves this for me.
This is the Westcott M six. And it’s exactly that it literally a spigot welded to a plate. And this plate happens to be an or RC two, which is what Manfrotto. So this works, um, practically any tripod that you could buy these days, this actually sells for $25. And I wanted to show this to you. You could do this yourself.
You’d have to buy an extra plate, which could be 15, 20 bucks. Depending. And then you have to get yourself a spigot, which I’ve got a whole collection of them. So I wouldn’t be a problem. And that you just make sure it’s securely in there. This I think is screwed in [00:03:00] and then welded on top of it. I it’s, I’m not going to break it apart to find out, but what you do is you literally just have to put this on top of your tripod and then screw in or clamp it down.
And now it’s solid, like a rock it’s in there. It’s not going to. You’re done. You’re done. You’ve got this here. Now. It’s time for the light. You’ve got to get the light on here. So what I’m going to be doing, I’m going to be using the go docs. 8,600 pro. This is a really powerful strobe and you can see, actually took the reflector off of this, which you’ll see why in a second.
You can see it’s now on there. I can now actually use my ball head to actually adjust. I can actually pan it. I can even loosen the ball head. And I can tilt the light in any direction I want without having to use the up-down that is built into this light in the past, I’ve used soft boxes. I use umbrellas.
And the problem with those is they become sales. You get one big gust of wind, and now this whole thing, your life stand is going over. Yes. That is less likely to happen when you’re using a tractor. But it will still happen if [00:04:00] the wind is strong enough. So instead of using a soft box or an umbrella, I decided to go a different route.
This is a different reflector. It does not come with this light. This is a seven inch reflector is a deep reflector. And what it allows you to do is actually, uh, increase the light output. It’s going to increase the light output and you can go further and a little bit wider than the default reflector that comes with this.
This one is actually a bonus Mount as well. Snaps right on it’s Nella. Reflector is on here and actually have a diffusion screen that came with this reflector, just this just sort of elastics right on the outside so that the reflector is the diffuser staying on the reflector. Now I’ve got a very powerful diffused light that is sturdy on a tripod that is not.
A sale. If the wind picks up, it’s not going over and worst case, I can take my backpack off my back. That has my extra lens, extra camera, body, and actually put it on the hook underneath the tripod for extra work. For the tripod [00:05:00] and I can actually take my spiked feet for the tripod screw into the bottom, dig that into the sand or the dirt, wherever I am.
And now a tripod is not going anywhere, but at the same time, when I need to move, I can just throw it over my shoulder move and then go to go to where I need to go take it back off my shoulder, open the legs and put it right back down. Good. So the beautiful thing about this setup is that I use a Nikon Z seven two for most of my portrait work.
And this is the trigger, the remote trigger for the go docs light. It just goes right on like it would a flash and I can control the light wirelessly trigger the light wirelessly from here. And it is TTL. So I can either, um, set it up manually and just have the manual, you know, manual light output, or I can set a TTL and let the camera tell the light what to output and I can do high-speed sync, which is even better so that if I’m in harsh sunlight, I can easily overpower the sun [00:06:00] using high-speed sync and fast shutter speeds to ensure that I’m getting beautiful light output and beautiful portraits.
So this is my new unique, uh, off-camera light setup that I cannot wait to use. I just tested it out on my daughter and it worked really well. It works with two people. I wouldn’t suggest doing this for a lot of people because it does not spreading the light out too much, but it is doing it just enough and, yeah, it’s fantastic.
So there you go. I’m going to link to all the products in this, in the description down below, except the tripod, because. Just pick up a tripod or use whatever tripod you have already. There you go. Thanks for watching. Be sure to click, subscribe, be sure to karate kick the notification bell and I’ll see you in the next video.


Very interesting! However, too old to lug such gear around any more!