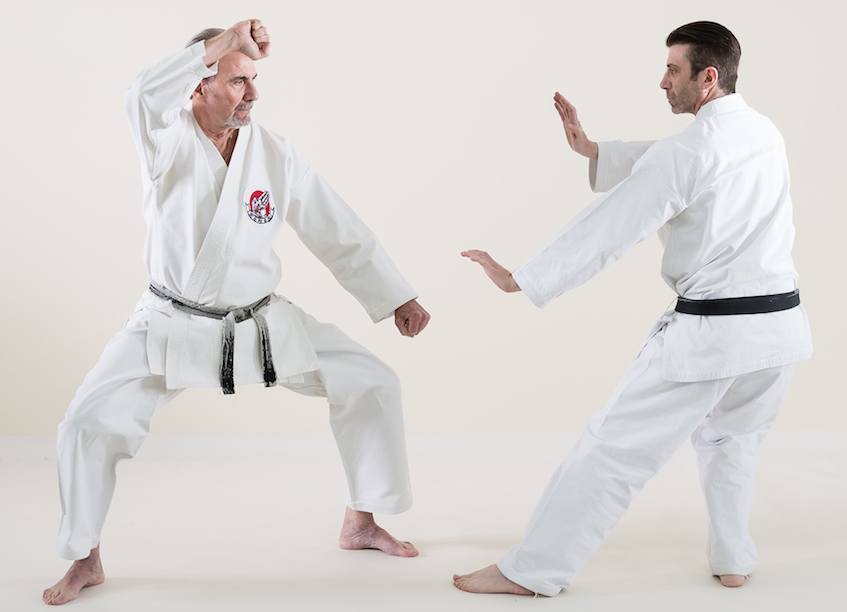
It isn’t often that I overshoot for a job. However, I was recently hired to photograph a large amount of photographs for a client.
The photographs were for a karate book and the writer and instructor wanted realistic photographs and not staged ones.
In order to do so it required that the karateka sparred. That meant that I needed to use a camera and lighting setup that could handle the fast paced movement. It also meant that the room has to be big enough for the chances that the guys would move outside the typical background paper width.
We wound up laying background paper across the floor instead of using it as a background. We did this because the wall was good enough for the project, but the floors were not.
I use a Nikon D4 and not my D800 due to the speed of the D4. I also used AlienBees and an Einstein light, however due to the slower recycle time of the lights I had to use the continuous low mode of the Nikon D4 instead of full speed. That worked out well, but I still have 10,000 photographs to cull through.
The writer/instructor only needed 743 photographs in the end, so I knew that it was going to be a large project even after the shooting process was complete.
The project was days long, so when finished I segregated the days and then created proofing galleries with 1,000 (or less) photographs in each folder. I did that so the client wouldn’t have to churn through 10,000 photographs at once to decide on which to have me edit.
In the video below, you will see my typical routine going through the selected photographs to edit.
As you can see, the Previous button in Adobe Lightroom can really help speed things up. I also used some keyboard shortcuts to help further. The R key was used when I had to adjust cropping and the Q key when I had to adjust the spot removal selection.
In a later article I will talk further about the outlet issue that you noticed in the video.
Thanks for reading and happy shooting,
Scott


