A Variable Neutral Density Filter has a similar purpose as a standard neutral density filter or ND filter. However, a VND is designed like a polarizer filter, so you can quickly adjust your density from smaller to larger without changing filters. However, a VND should not be your first choice for an ND filter. In this video, I share the how what and why you would use a variable neutral density filter along with my recommendation for a VND if you need one.
Transcription was done by Descript‘s automated transcription services which means it’s an AI-generated transcript. The transcript may contain spelling, grammar, and other errors, and is not a substitute for watching the video.
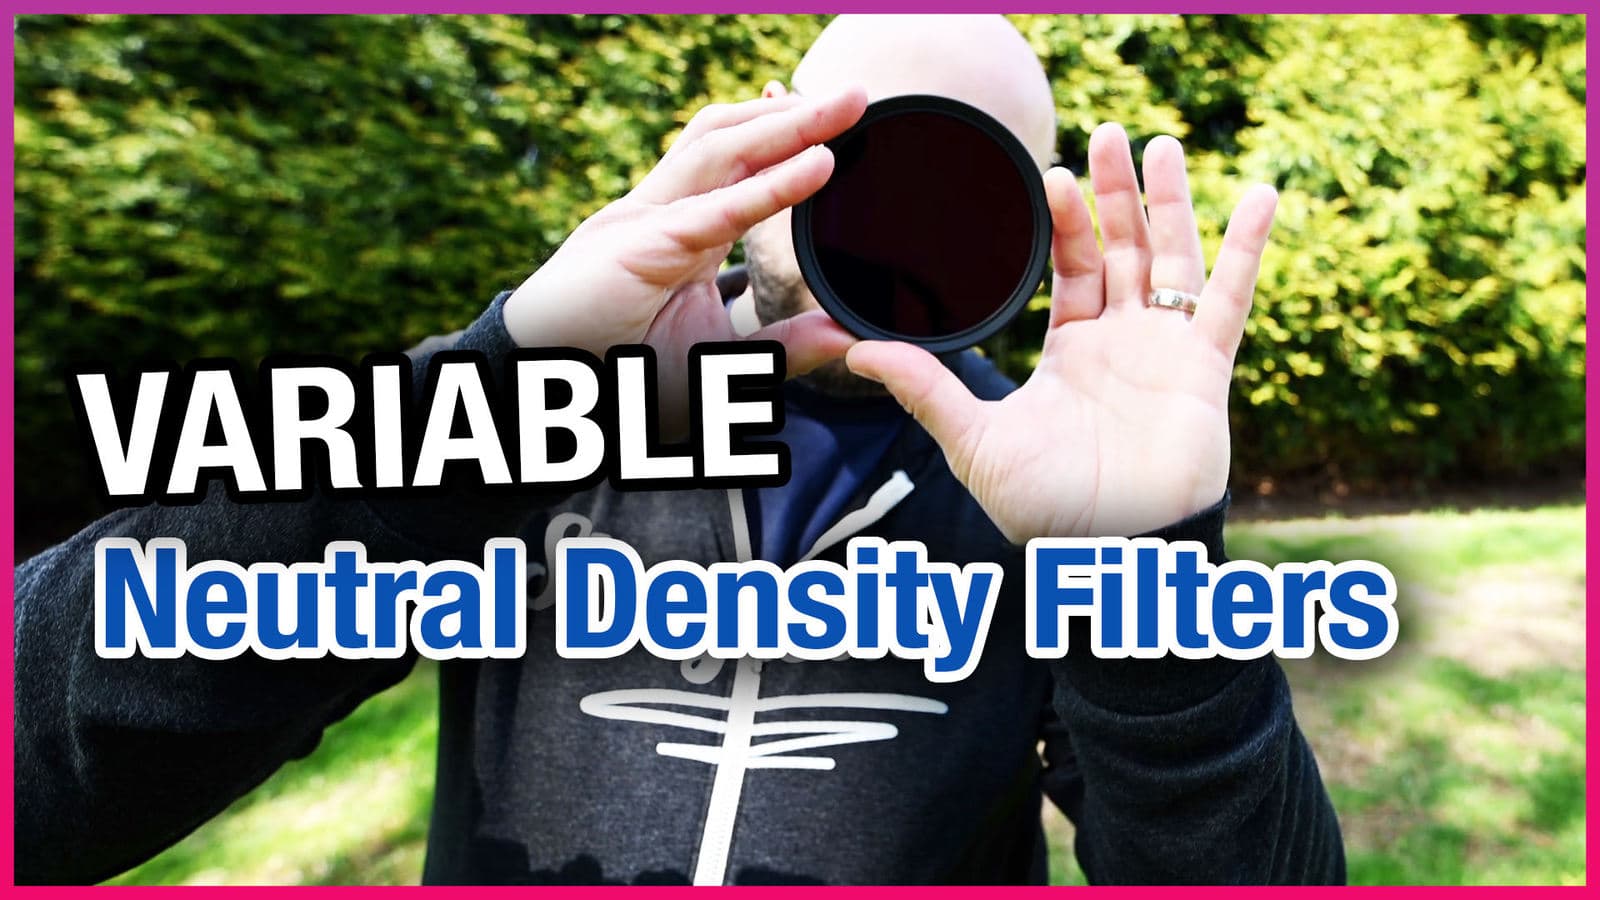
Right now I am outside. It is late April. It is almost may that when I’m recording this and it is almost summer, which means that the sun is going to start getting very bright. The sun’s literally right over my head, which is probably why you’re seeing my head very washed out. Now I am filming this on the Nikon [inaudible] and it actually has a natively ISO 64. But even then sometimes it’s just too bright. So there are many things you can do, like lower the ISO, or you could go ahead and you can pick up an ND filter. Now these filters are actually from moment and this one in particular, this one is a two to five stop. And this one is a, I believe it’s a six to 10 stop. No, both of these are 82 millimeter variable and D filters meeting. I don’t need to have one N D I have multiple NDS. And the way that moment has designed these is that there is a lock on them to limit you from actually going beyond its capabilities. Because one of the problems with variable DS is that eventually if you go beyond its native limits, you start seeing an ex of like a weird shadow form in your photo. On top of your photo and this video, I want to show you the difference of what you would get with the various variable and DS quality, good quality, variable, and DS like these for a moment.
Hey, this is Scott Wyden. Kivowitz a storyteller with a camera about all the things photographers like you and I are thinking about. And in this video, we’re talking about variable and DS from, well, these are for a moment, but a lot of companies make variable Indies. Now, typically I don’t recommend variable NDS because they’re not actually neutral density filters. They’re more like multiple polarizers screwed together to give you the effect of a variable and D. So they’re not truly a variable ND, and they usually will have some sort of color shifting going on with them or some other sort of degrading quality. But when you want really good variable NDS, you have to go to some of the companies who make really good variable NDS, like moment, moment, make some of the best variable NDS for many reasons, before we dive into why the moment variable NDS, I want to just quickly mention why you might need a variable N D or a an N D in general.
Well, a neutral density filter is a gray filter. It is designed to basically just darken and prohibit light from going through the lens to your sensor, meaning you need to either have a longer shutter speed or a higher ISO, or you need to have a smaller aperture, but when you’re doing video, you can only go to a certain shutter speed before you start getting rolling shutter or other type of effects, like too much blur in the video footage, your other options to open up aperture and go to a smaller aperture number. And I’m already at F four and I’m at ISO 64, which means I can’t lower it anymore. And I’m still getting some wash out because of the bright sun directly overhead. So the way to solve this is to throw on a neutral density filter. And that is what you would typically do in a situation like this.
But the problem comes, we need to quickly adjust things. And if you’re screwing on and it’s a density filter, it can take time for you to unscrew it. You might miss the moment, or if you, how are using a slot in style, then, you know, you got to take that out and put on a different one, or take it out, not putting on a new one. And that could also take time to figure out what you need. And this is where a variable neutral density filter comes in handy because it’s designed like a polarizer, which means you just turn it to change the density, the darkness that you get, the moment ones come in. These really nice cases. A funny thing is one is plastic. One is metal. So they changed the design. This one also says the actual stop range. This is two to five, and this one has the N D range 64 to five 12.
So they’ve changed their designs of the cases over time. I kind of wish they kept with this one, because this is a sort of a cosmetic style where you just pop it open and you can get to the filter. The other one, you have to unscrew it. So it’s, it takes a little longer, plus it’s not as clear of what density each one is. This is the two to five stop variable. And D before we dive in, I just want to mention that if you’re going to pick up a variable, N D pickup, a variable and D for your largest lens, meaning the lens that I’m shooting this with right now is a 14 to 30 F four lens for the Nikon. These series. It is an 82 millimeter filter. So what I did is I bought an 82 millimeter filter, which I can then use for every other lens that I have that is smaller, a 77 72, a 52, a 58, whatever it is, I can use this on that.
And here’s why these are called step up rings. This would go on in front of your lens, like our filter. And then you would screw this filter to the step-up ring. This one in particular is a 52 to 58 step upbring. So even if I have a very small lens, like a small prime lens that has a 52 millimeter filter, I could actually use this on that lens. And I picked up a whole series for basically any size lens. And this was $30. Now, before I put this on, I want to show you that the filter is identified over here by the neutral density that it actually has and D four and the eight and the 16 and N D 32. And there’s a little notch to show you which one you are using. And you’ll notice that as I turn, it actually stops. It prohibits you from going beyond that limit, which means that you won’t get that crazy ex that you’ll get with a lot of the inexpensive variable end DS. I’m going to put on the lens now
No, right now you’ll notice that I am very dark. I’m very dark at two stops. Think about this. It’s two stops of light reduction. And if I turn this, I am basically going to disappear.
Which means that the only way to get me back is to my case right now, because I’m stuck on shutter and stuck on aperture. The only way to get me back with a full five stops of light reduction is to bump up the ISO, which is I just did. Now, now with this, I’m going to actually adjust the ND and talk about what I am at. So you have an idea right now, the N D is at 32. This is 16, this is eight. And then this is D four. So you see that I am washed out right now, again, because the ISO is up, but as I lower it, you will see that I will get better and better. And then eventually I’ll get too dark.
Now the same could be done for the more dense and variable ND filters. What you’ll notice is this one is you can not see through it really at all. So you really got to bump up that ISO or do something else to compensate. Now, this one goes from N D 64 to D one 28 to two 56 to five 12. This gets very, very dark. So a prime example of when you might need a variable, N D is actually, if you are out doing some sorta photography and you’re taking pictures of people and you do not have with you an assistant that can hold a flash, you don’t have an assistant that can hold a diffuser over your subjects. You don’t have the capability to modify the light either of your subject or around you. So instead you can use a neutral density filter, but if you want more control than a variable neutral density filter might be the optimal choice.
Now, as I mentioned earlier, in this video, a variable neutral density filter, won’t give you the same quality results as a true neutral density filter, especially the larger, more megapixel and more physical sized sensors that you go. You’re not going to get the same results, but for most people, most photographers, you won’t really be able to tell a difference. So there you go. Those are variable ND filters and the reasons and why you might use it, how you would use it and how you can use one on basically any lens that you have, and my preferred choice for the variable and D from moment, if you’ve any questions about variable and D just comment down below, and I’d be happy to answer any questions that you might have. And if you’d like to learn more about long exposure, photography and neutral density filters, check out my course or my ebook on long exposure photography. Thanks for watching. And I’ll see you in the next video.