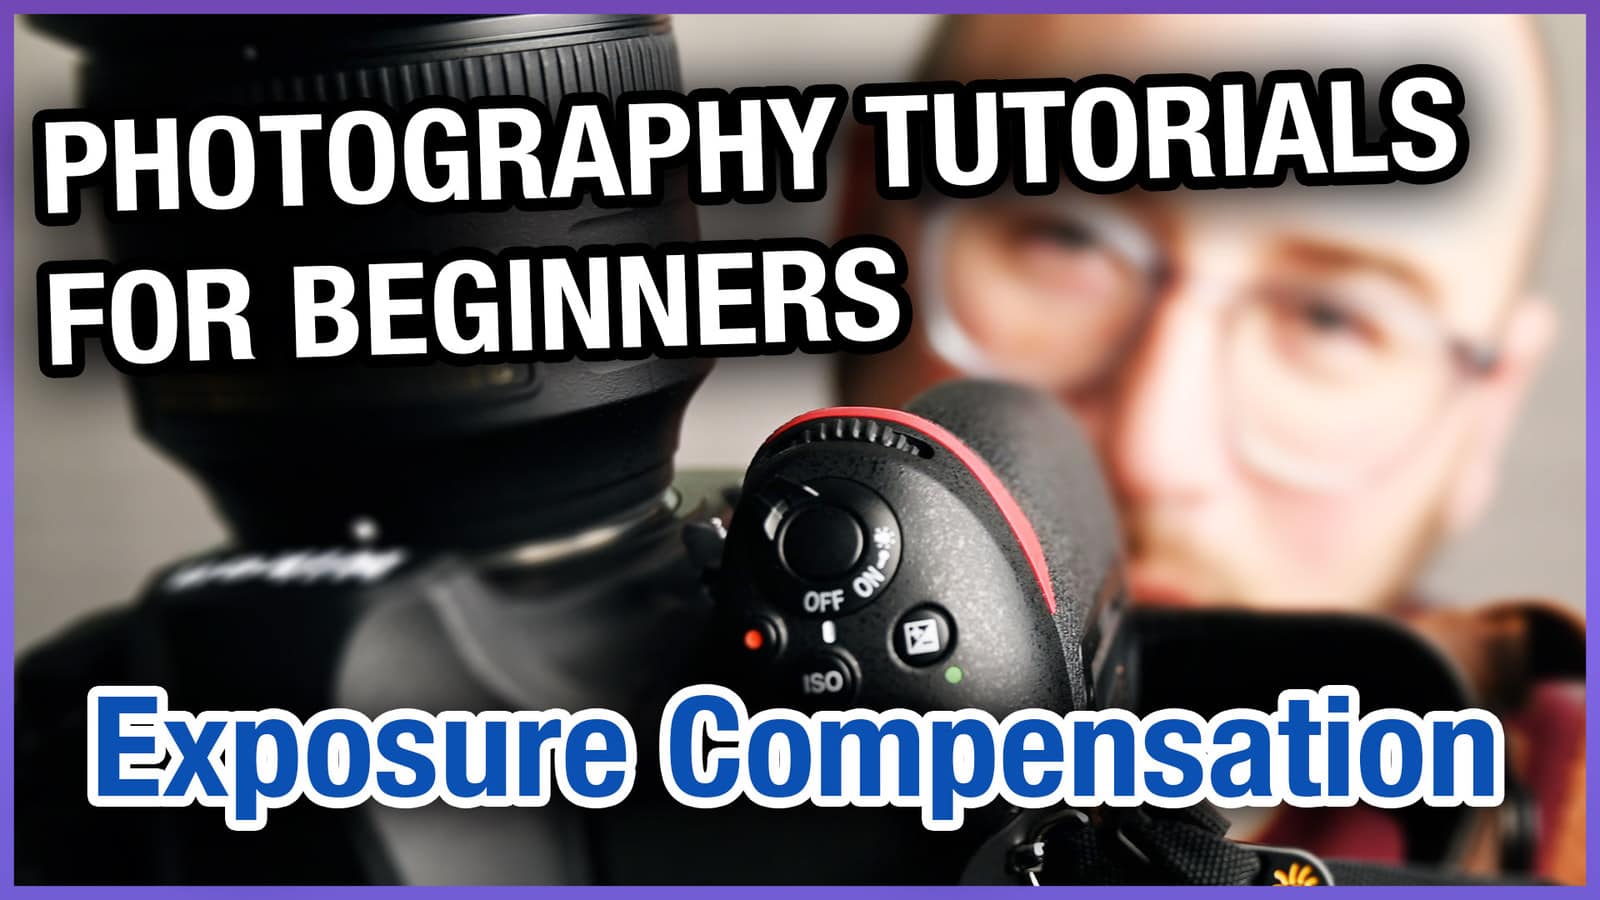
The Photography Tutorials For Beginners series continues with a tutorial on exposure compensation. In this video, you will learn what exposure compensation is, what happens when you change it, and how to get started practicing with trying exposure compensation.
Transcription was done by Descript‘s automated transcription services which means it’s an AI-generated transcript. The transcript may contain spelling, grammar
Here we are with another photography tutorial for beginners. This time on exposure compensation exposure compensation is something that is on majority of cameras. The icon for the button or the setting on your camera for this looks like a square, sort of like a ying yang effect, but as a square with a plus and a minus on different corners of that square. The point of exposure compensation is literally to bring your exposure up or down when you’re beyond the limits of your aperture, your shutter speed or your ISO. And by now you have hopefully see my videos on shutter speed and aperture on ISO end on white balance. Hopefully by now you’ve gone through shutter priority and aperture priority. Your you’ve experimented with program auto and bumping up and down the ISO and maybe now you’re starting to move into manual mode, but maybe you’re not quite there yet.
So let’s go back to either program motto or shutter priority or aperture priority. Hopefully either shutter or aperture priority and not program motto, but it’s up to you while you’re in this mode. You can go ahead and you can hold down that button or go into the setting on your camera if it’s not a physical button and choose the exposure compensation and then go up or down. What will happen is you will see your photo will actually get brighter or darker. This mode is literally digitally darkening your image beyond the exposure you can get with the physical aperture or the shutter or the digital ISO. So in a way, if you are ready the peak of where you want your photo to be, either if it’s a little bit too dark, you need to brighten it up or if it’s a little too bright and you can’t get the ISO lower to darken it or can’t close up the shutter or it can’t close up the aperture and things like that, then use exposure compensation.
Bring it back down. So try this. Go outside in a really, really sunny day where your camera is just struggling to bring things down and start lowering the exposure compensation instead of the ISO and see what happens. What you will find is that your exposure compensation, depending on your camera, has a certain amount of increments it can go and then it’s a max number. So for example, on my Nikon Z six I have three stops of exposure compensation, but on my Nikon D at 50 I have five stops of exposure compensation and the numbers go from zero and then it goes up by 0.3 to 0.7 to one to 1.3 to 1.7 to two and so on. And then also goes down to the negatives with that increment as well. So go outside, start experimenting with exposure, compensation and get a feel for what that is.
Because while it’s something you may not use all the time in your camera because you’re most likely going to be using the other thing that the shutter, the aperture of the ISO and the white balance because you won’t be using exposure compensation that much is not something that’s critical, but it’s something you should be aware of for those small moments where you actually do need it and are getting even closer to full manual mode. Thanks for watching. I’ll see in the next video. Click that subscribe button. I publish new videos every Monday and Thursday whenever possible. You don’t want to miss it.


