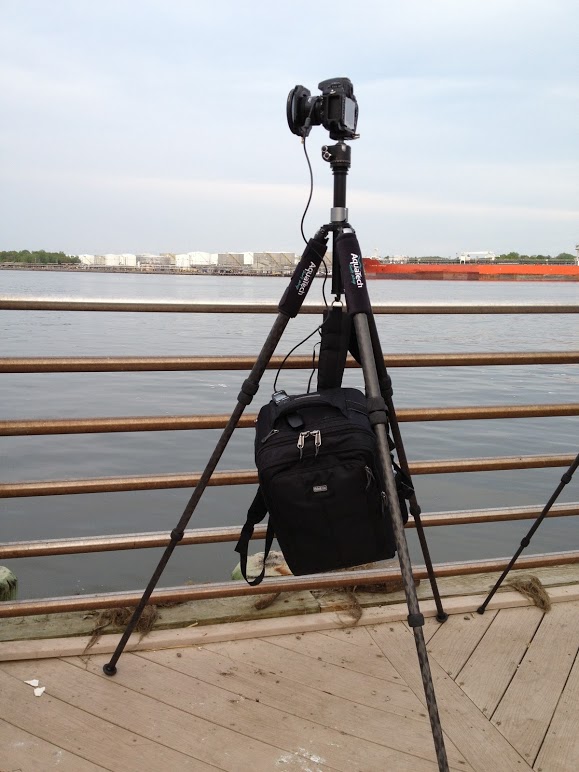
Today I am happy to share a fun and educational article from James LeBlac at Inkjet Photo Paper. In the article you will read some great advice on how to get the most out of your tripod. When you’re done with the article I will link to a couple other tripod related articles here on the blog. (By the way – I’m a huge fan of my Really Right Stuff TVC-24L) On to you James…
–
Most photographers set up their tripod casually and use various adjustments and tilts in a disorganized manner. It is best, however, to be more orderly in setting up your tripod, if situation and time allow, to give a specific positioning of your camera and the best possible stability.
Although a tripod may seem just like a simple piece of device, there are a number of things to remember when you are setting it up to make sure you get the best image possible. Here are 5 tips to get the most out of your tripod.
1. Find your composition
Because it takes a lot of time to setup your tripod, it is good to first find your composition, and then think about the tripod. Walk around and look at your subject from various angles. It helps to examine your viewfinder to help you see precisely how the composition will appear as a photo.
2. Point one of your tripod legs towards the subject
Pointing one of your tripod legs towards the subject will enable to stand between other two legs, hence preventing you from tumbling over your tripod. It can also help stabilize the camera more when pointed towards the floor.
3. Keep the center post perpendicular to the ground
To make sure that the weight of the camera is evenly spread to all the legs, ensure that the center post is at a 90 degree angle to the ground. Using one of the bubble levels which attach to center post can greatly assist you level your tripod and show you just when it’s correct.
4. Don’t extend the center post
The center post is extensively less stable than the tripods legs spread out; therefore use the center post only as a last option. This will cause a bit of annoyance in setting up the tripod to its ideal height, but remember that it helps you get the clearest image possible.
5. Use a tripod collar for long lenses and an L-bracket for short lenses
Since heavy lenses often shift your camera’s center of gravity, it’s vital to use a tripod collar which evenly spreads out the weight between the camera and the lens. Without this, you will notice how the camera shifts down slowly after locking the head into position. On the other hand, the “L” bracket is an L- shaped unique type of plate which attaches the camera to your tripod head. It enables you to mount the camera in a portrait orientation, even as the camera is at the center of all the three legs.
Finally, despite the fact that setting up a tripod may appear to be a tedious and slow process, it is vital to do it carefully in order to ensure that you get the best image possible. Making sure that the tripod is in a balanced position also helps prevent it from falling and damaging the camera and lens.
Keep in mind that the more time and the more careful you are in setting up the tripod, the more you should focus on your composition. Understanding that it will to take you a good amount of time to set up your tripod, you will be more careful in choosing your composition.
For more tripod fun, please read Scott’s articles:
- 3 Legged Thing Review
- The Camera Strap Tripod Combination & How I Solved It
- Long Exposure Photography Choices: Tripod
- Behind The Shot (Scott’s article at Really Right Stuff)
–
James LeBlac is a blogger and loves photography. He is also involved at Inkjet Photo Paper, a website that sells inkjet photo paper from a wide range of inkjet photo paper suppliers for your photography and printing needs.


